Ollama-webui — A revolutionary LLM local deployment framework with chatGPT like web interface.
Let’s get chatGPT like web ui interface for your ollama deployed LLMs.Just follow these 3 steps to get up and get going.
Step 1 — Install ollama locally and deploy a LLM of your choice.
You can install ollama directly on your local machine. You can also deploy ollama docker container locally. Choice is yours, either of them will work for langchain ollama interface, ollama official python interface and ollama-webui interface.
Assuming you installed ollama locally, deploy LLM of your choice using below command on your terminal -
ollama pull llama2
Step 2 — Install ollama-webui
Official github repo — https://github.com/ollama-webui/ollama-webui
Run the below docker command to deploy ollama-webui docker container on your local machine.
docker run -d -p 3000:8080 --add-host=host.docker.internal:host-gateway -v ollama-webui:/app/backend/data --name ollama-webui --restart always ghcr.io/ollama-webui/ollama-webui:main
Step 3 — Open your browser and call localhost with port 3000
http://localhost:3000
For the first time you need to register by clicking “Sign up”.

Once registered, you will be routed to the home page of ollama-webui.
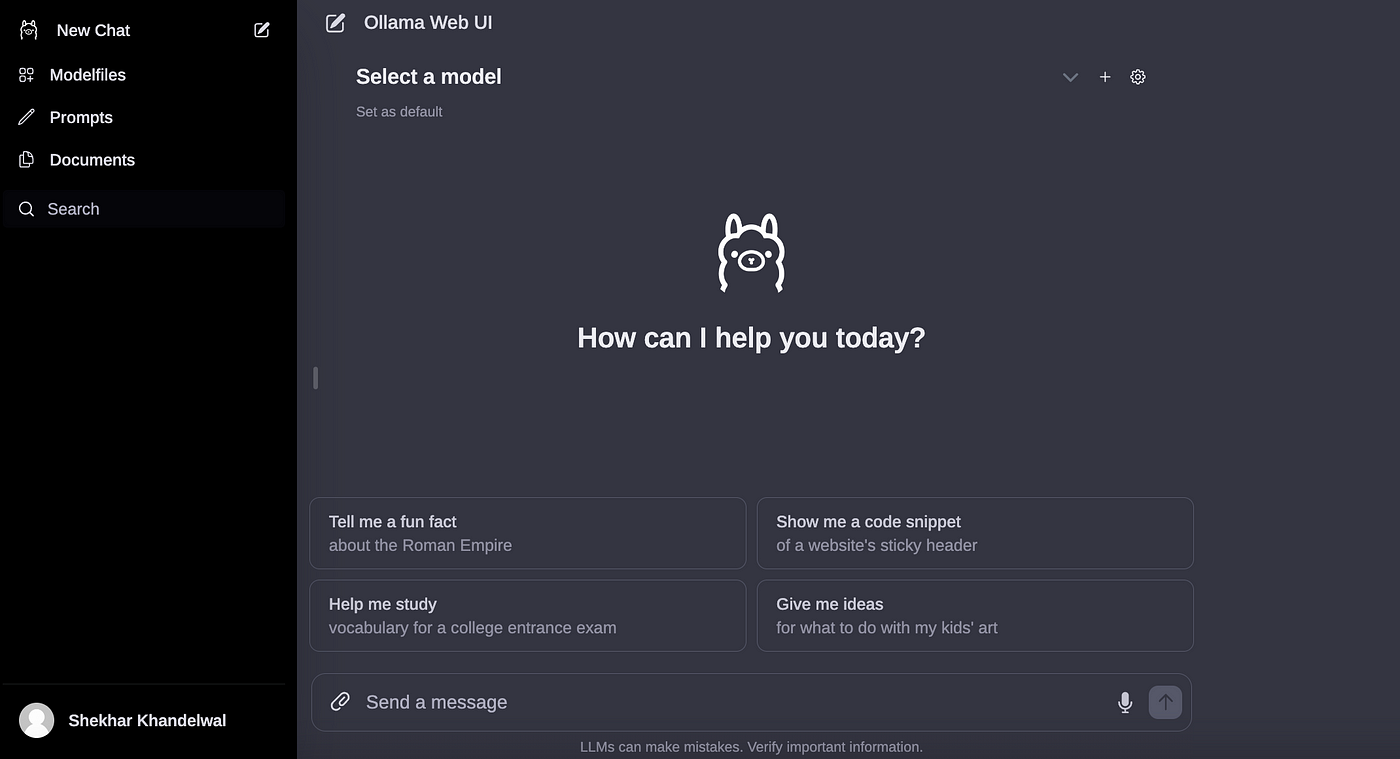
Depending on which LLM you deployed on your local machine, those options will be reflected in the drop down to select.

Once selected, chat.

This avoids you to create a streamlit or gradio UI interfaces to experiment with various open source LLMs, for presentations etc.
Ollama Server Installation
If you want to install ollama and ollama web-ui on a server, and want to access the web-ui on your browser, then follow these 3 additonal steps.
Reference — https://github.com/ollama/ollama/blob/main/docs/faq.md#how-do-i-configure-ollama-server
First, follow all the above steps to install ollama and ollama web-ui on the server.
Then, open ollama config file on the server -
vi /etc/systemd/system/ollama.serviceAdd this line under [Service] section
Environment="OLLAMA_HOST=0.0.0.0"Config file will look like this now -

Save the file.
Finally, run these two commands on the server -
systemctl daemon-reload
systemctl restart ollama
Incase, server is firewall protected, you may need to allow ports 3000 and 11434 on the server -
ufw allow 11434
ufw allow 3000
Now, on your local machine access the ollama web-ui using this url
http://<server-ip>:3000And your are all set.

Happy Learning !