Getting Started with Neo4j on Your Mac: An Introduction to GraphRAG
Welcome to my blog! If you’re here, you’re probably interested in learning about the exciting new approach to building Retrieval-Augmented Generations (RAGs) using GraphRAG. In this post, we’ll explore the essential tool you’ll need to get started: Neo4j.
GraphRAG is a cutting-edge method that leverages graph databases to enhance the capabilities of traditional RAGs, allowing for more efficient data retrieval and processing. To harness the full potential of GraphRAG, a powerful graph database like Neo4j is crucial. Neo4j is the world’s leading graph database, designed to store, manage, and query large volumes of connected data efficiently.
In this guide, I’ll walk you through the steps to install and configure Neo4j on your Mac, ensuring you’re well-equipped to dive into the world of GraphRAG. Whether you’re a seasoned developer or just starting, this guide will help you set up Neo4j quickly and easily, so you can focus on building innovative solutions with GraphRAG.
Let’s get started on this journey to transforming how we build and interact with RAGs using the power of graph databases!
Here is the Mac installation guide from neo4j team —
Step 1 — Setup JAVA JDK on your machine
- Download OpenJDK package -
- Unzip (untar) the package
tar xvf openjdk-22.0.2_macos-aarch64_bin.tar.gz- Export commands to setup the environment variables
export JAVA_HOME=/Users/shekharkhandelwal/Documents/gitlab/research/neo4j/jdk-22.0.2.jdk/Contents/Home
export PATH=$JAVA_HOME/bin:$PATH
So JDK is setup on your Mac. Lets proceed with next step.
Step 2— Neo4j setup on your Mac
- Download Mac neo4j package — select ‘Community’ package and ‘Mac executable’ options, and download.
https://neo4j.com/deployment-center/

- Untar the package using the command
tar -xf neo4j-5.23.0-1.noarch.rpm- Setup the environment variables
export NEO4J_HOME=/Users/shekharkhandelwal/Documents/gitlab/research/neo4j/neo4j-community-5.23.0- Its important to set up the licence agreement to ‘eval’
export NEO4J_ACCEPT_LICENSE_AGREEMENT=evalSo, we are done with Neo4j setup too.
Step 3 — Launch neo4j console and browser application
$NEO4J_HOME/bin/neo4j console
Step 5 — Launch Browser app using -
http://localhost:7474/
Initially, the userid and password is set to neo4j/neo4j. Use this and connect.

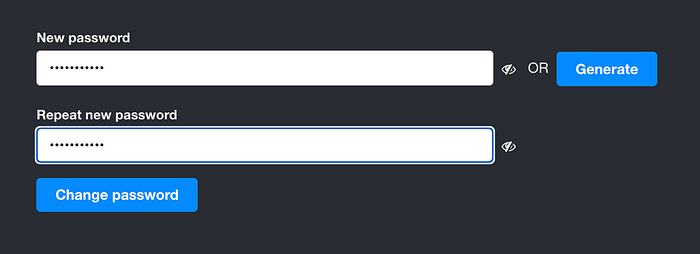
You will be asked to change your password for the first time.
Perfect, so you are now connected and logged in.

Enjoy Learning !